The French word, the concept, and all the professional postings on social media of En Plein Air painting can be intimidating. For me, I was introduced to the term while watching the creation video of a landscape with oil pastels. It looked like a photograph on the canvas. For a while I thought enplain air needed to meet lofty expectations of grand landscapes, but it can be more collecting of thoughts onto a page for later. Let’s do some No Care En Plein Air.
Welcome to my second blogpost! I go by Artsy Bat Brooke on all my art social medias and you can find me on Instagram at @artsy.bat.brooke and on YouTube at ArtsyBatBrooke. I started my watercolor journey in high school with a watercolor class after years of sculpture classes and primarily painting with acrylics. In my watercolor class, I primarily focused on landscapes and avoided other subjects except for one required self-portrait. After years of trying to pursue a career in science and putting up with toxic workplaces, I’ve returned to art to write, illustrate, and publish a children’s book.
Painting when you are out and about doesn’t need to be a finished work of art. It can be an expression of what you are feeling in the moment or almost a taking of notes. I once did a rough sketch with notes written around it. And if you intended to do one thing then get inspiration for another follow it. That is what happened on my journey for this blog post.

My intention was to work on different blogpost topic, but then we arrived at the beach and we were attacked by flies. The only thing in my head at that moment was an angry fly cartoon. The angry fly concept would have made for good cartoon practice. I left the idea in the back of my mind while I went for a walk to find a fly free area and I saw a seagull sitting in the sand relaxing while the rest of the seagulls were trying to get food from other people. This seagull represented the epitome of a relaxing day at the beach: sitting in the sand, looking at the water, and listening to the waves. I wanted to capture this seagull on paper.
First sketch out the body with a lopsided oval then put a circle on the fatter end of the oval. This is the basic shape of a sitting seagull. Since I was working with the mindset of this being just a sketch and not a final art piece, I used a nonerasable colored pencil. At the small end of the oval, add an elongated trapezoid then a small triangle on top of that. The beak can be tricky since if you draw too flat of a beak, it will look like a duck, especially in the sitting position. Draw the top portion of the beak taller; the beak exaggeration could be used as a way to cartoon the seagull more. The eyes are on the side of the head and you can experiment with it looking towards you or in another direction; they have a wider range of vision so you could play with the seagull looking behind it. Finally, the background. There are three lines: Where the sand the seagull is sitting on, where the shore line is, and the horizon.

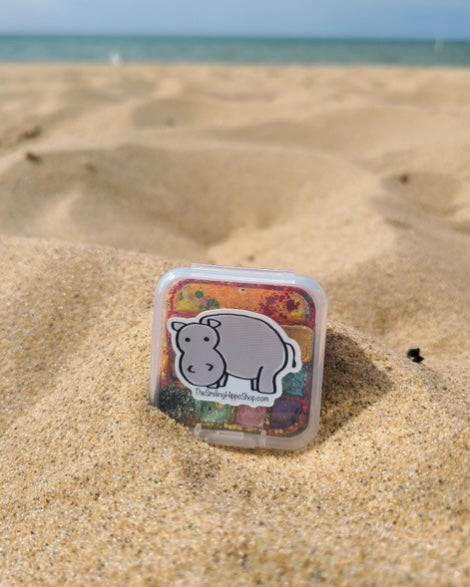
I suggest painting the background first. With watercolors, you are able to lift the watercolors if you put them in an area you didn’t want them. Though it is possible to lift a top layer off of a previously painted area, it is difficult to leave the bottom layer untouched. I was using my Smiling Hippo Rainbow pallet for the painting and most of the colors are great at lifting. To differentiate between the sand layers, I added some of the orange to the gold colors to make it darker. One of the yellows had larger pieces of glitter which gave the sand a coarse texture. Since there were some murkier parts in the lake, I added purple to give the water dimension. To make it more accurate to Lake Michigan water, I would have needed to add a green, but with limited palettes, creative liberties is a must. Plus, I think it brought more colors out in the end.

Since Michigan Seagulls are primarily grey and the Smiling Hippo Rainbow palette is all colors, I had to be creative with what colors the seagull would be. I selected the darkest purple red for all the dark grey/black areas: strip on the beak and the end of the wing. With a lighter red, I painted the entire wing and faded the red to white towards the head. The darker purple red was used to create texture of feathers on the head with light short strokes with the brush barely touching the paper. For feathers on the wings, I did longer strokes to imitate the longer feathers. Depending on what colors you make the beach and position your seagull, finding a beak color can be difficult. I tried making it darker, but it blended in too much so I ended up using a more concentrated color I used for the foreground sand. Making one part of the beak look darker than the other can help differentiate the two parts. I made mine look like there was a shadow on the top beak then there was light reflecting off the sand onto the bottom part. Finally, to finish the seagull, I gave it a bright blue eye looking at you.

Plien Air can be fun as long as you don’t compare yourself to others and do what you enjoy. Sometimes when you are letting go of the expectations of social media, you can create something wonderful and enjoy doing it. Get lost in the process.
One important tip: Don’t do as I do; don’t get distracted and forget to put on sun screen.
Bonus: A fun way to do a loose plein air landscape is to use black paper. I used this as a warm up using the Smiling Hippo rainbow palette. Loose splotches for the sand and sand grass then adding a strip of blue for water and another for the sky.


